Whale-Watching Photography in Samaná: Tips for Capturing Humpback Whales
Photographing humpback whales in Samaná, Dominican Republic, can be an exciting challenge for wildlife photography enthusiasts. A whale may surface unexpectedly, lift its tail above the water, or disappear beneath the waves before you have time to frame the perfect shot.
Unlike photographing landscapes or stationary subjects, whale photography requires patience, quick reactions, and an understanding of how to work safely on a moving boat.
Whether you use a professional camera, a mirrorless system, a DSLR, or a smartphone, thoughtful preparation can help you capture more meaningful images during your excursion.
This guide explains how to prepare your equipment, choose useful camera settings, compose whale photographs, and respect marine wildlife while documenting your Samaná experience.
Why Samaná Is Interesting for Whale Photography
Samaná is known for the seasonal arrival of humpback whales in Dominican Republic waters. The main whale-watching period is generally January through March, although sightings and operating conditions vary.
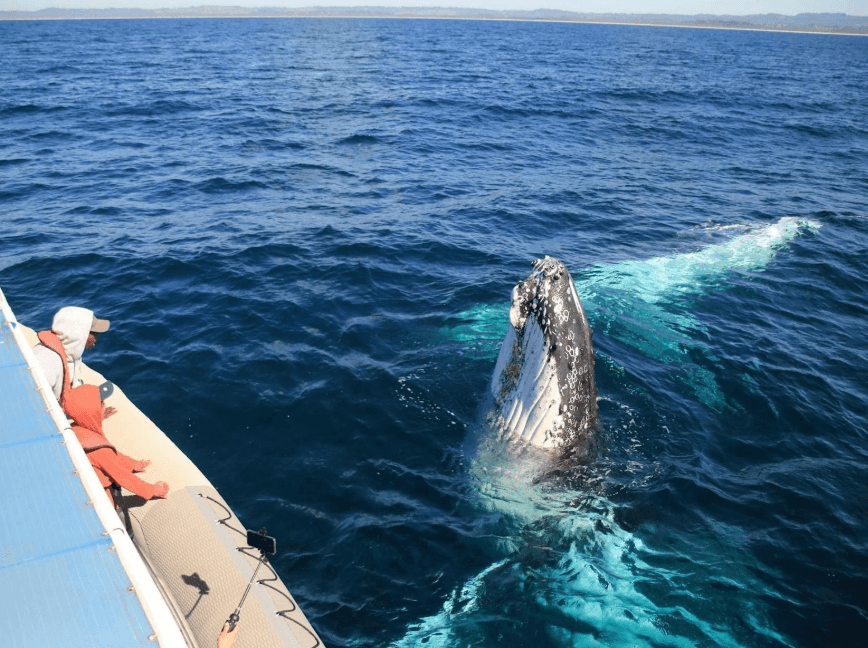
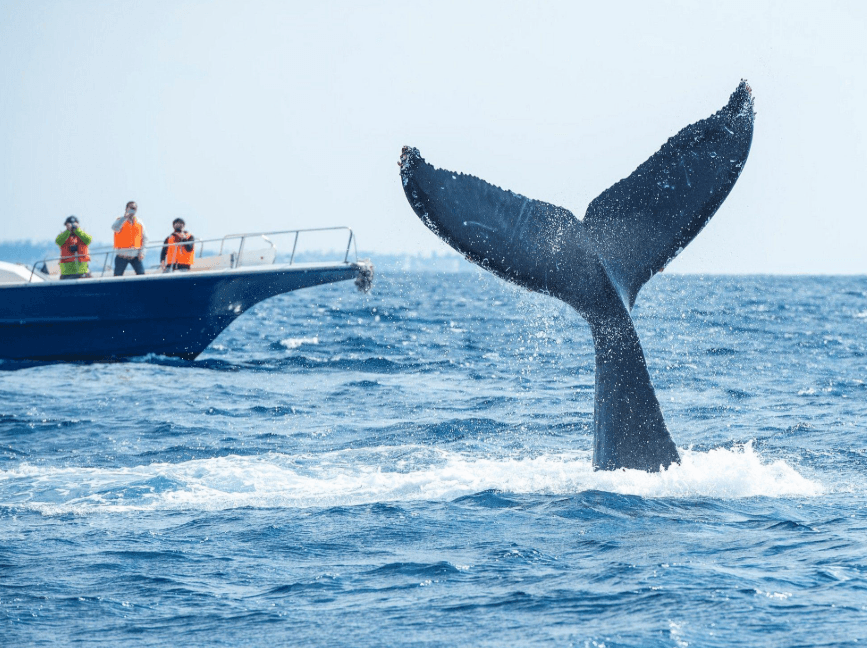
For photographers, the appeal lies in the range of possible natural scenes. You might capture a whale's back breaking the surface, a plume of spray above the water, a raised tail, or a more dramatic breach.
Each encounter is unpredictable. You may have only a few seconds to react, and some whales may remain underwater for periods between sightings.
This makes preparation especially valuable. Knowing your camera, organizing your equipment, and anticipating possible moments can help you spend less time adjusting settings when a whale appears.
1. Choose a Camera That Matches Your Needs
You do not need the most expensive camera to take memorable whale photographs. The right equipment depends on your experience, budget, and preferred style of photography.
DSLR and mirrorless cameras
Interchangeable-lens cameras offer flexibility for wildlife photography. They typically provide manual controls, burst shooting, and the ability to select a lens suited to the distance between the boat and the whale.
If your camera has reliable continuous autofocus and subject-tracking features, practice using them before the trip.
Learn how to change shutter speed, autofocus settings, and burst mode without taking your eyes away from the scene for too long.
Bridge cameras
A bridge camera with a built-in zoom lens can be convenient because it combines a broad focal-length range in one device.
This may reduce the need to change lenses while aboard a boat. However, image quality and low-light performance vary between models.
Check how quickly the camera focuses and whether you can comfortably operate its controls while the vessel moves.
Smartphones
Modern smartphones can capture useful travel images, especially when whales are relatively close and lighting is favorable.
Use the optical zoom available on your device when possible. Heavy digital zoom can reduce detail, particularly when cropping an already distant subject.
For best results, keep your phone secure and avoid leaning over railings to improve your angle.
2. Select a Suitable Lens for Whale Photography
Whales can appear at varying distances from the boat, so lens choice matters.
A telephoto zoom lens is often useful because it allows you to frame distant subjects without needing to move closer.
A lens in the approximate 100–400 mm range on a full-frame camera can be versatile for wildlife photography, although the ideal focal length depends on your camera sensor, the viewing distance, and the composition you want.
A shorter focal length may be better when a whale is close or when you want to include the boat, coastline, or surrounding environment in the frame.
Avoid choosing an extremely long lens without considering how difficult it may be to track a moving whale on a rocking vessel.
Most importantly, use your lens to photograph wildlife from the permitted viewing distance. Never encourage a captain to approach a whale too closely for a photograph.
3. Use a Fast Shutter Speed for Moving Whales
Whales move unpredictably, and the boat itself may rise and fall with the water. A fast shutter speed can help reduce motion blur.
For active wildlife photography, you might begin testing settings such as:
- Around 1/1000 second: A useful starting point for many moving subjects.
- Around 1/1600 to 1/2000 second or faster: Worth considering for fast action, including a possible breach.
- Around 1/500 second: May work for slower movements or broader environmental scenes, depending on the conditions.
These are starting points, not guaranteed settings. The required shutter speed depends on the whale's movement, the boat's motion, focal length, available light, and your camera.
To achieve faster shutter speeds, you may need to raise the ISO. A slightly noisy but sharp photograph can be more useful than a clean image with significant motion blur.
If you use shutter-priority mode, you can choose the shutter speed while allowing the camera to adjust the aperture automatically.
4. Set Up Autofocus Before the Boat Departs
Autofocus can make a major difference when photographing a whale that appears briefly.
For cameras that support it, continuous autofocus—often called AF-C or AI Servo—can help maintain focus on a moving subject.
Use a focus area that allows you to track the whale without making it too difficult to acquire the subject quickly.
Wildlife-specific subject detection may help on some cameras, but it is not infallible. A whale's body can be partly hidden by water, spray, or waves.
Practice focusing on moving subjects before your excursion. Familiarity with the controls can save valuable time when a whale surfaces.
If autofocus struggles, try placing the focus area over a clearly visible part of the whale and continue tracking its movement.
5. Use Burst Mode to Capture Brief Moments
Some whale behaviors happen too quickly for a single photograph to capture the most interesting moment.
Continuous shooting, also known as burst mode, allows your camera to take several frames while you hold the shutter button.
This can be helpful when a whale raises its tail, surfaces, or breaches. A sequence may capture different positions of the animal and give you more choices when reviewing the images later.
However, continuous shooting can fill memory cards quickly and drain batteries faster.
Use a suitable memory card, check your camera's buffer limits, and avoid taking long bursts when a whale is simply swimming without a meaningful change in behavior.
Remember that no camera setting can guarantee a dramatic wildlife photograph.
6. Understand Exposure in Bright Ocean Conditions
Photographing a dark whale against bright water can challenge your camera's exposure system.
The camera may try to balance the whale and reflective surface, sometimes leaving the animal too dark or washing out details in the water.
Review your images when conditions allow, and check the histogram if your camera provides one.
Exposure compensation can help if the camera consistently makes the scene too bright or too dark. The correct adjustment depends on the lighting, background, and camera metering.
Avoid making large changes without checking the results. Bright tropical sunlight can change quickly as clouds pass over the bay.
If you photograph in RAW format, you may have more flexibility when adjusting exposure and recovering some detail during editing.
7. Compose More Than Just a Close-Up
A close-up of a whale can be striking, but not every photograph needs to fill the frame with the animal.
Environmental photographs can communicate a stronger sense of place by including the water, distant coastline, or other natural features.
Consider several approaches:
Wide environmental composition: Include part of the surrounding landscape to show the whale's marine environment.
Tail-fluke photograph: Frame the whale's raised tail against the water, leaving enough space around the subject.
Surface action: Capture the shape of the whale's back as it emerges, paying attention to reflections and the direction of movement.
Behavioral sequence: If the moment allows, photograph several stages of a natural behavior rather than relying on one frame.
Keep the composition simple enough that the whale remains the main subject. Watch the edges of the frame for distracting boat parts, other passengers, or unwanted objects.
8. Photograph a Breach Without Predicting It
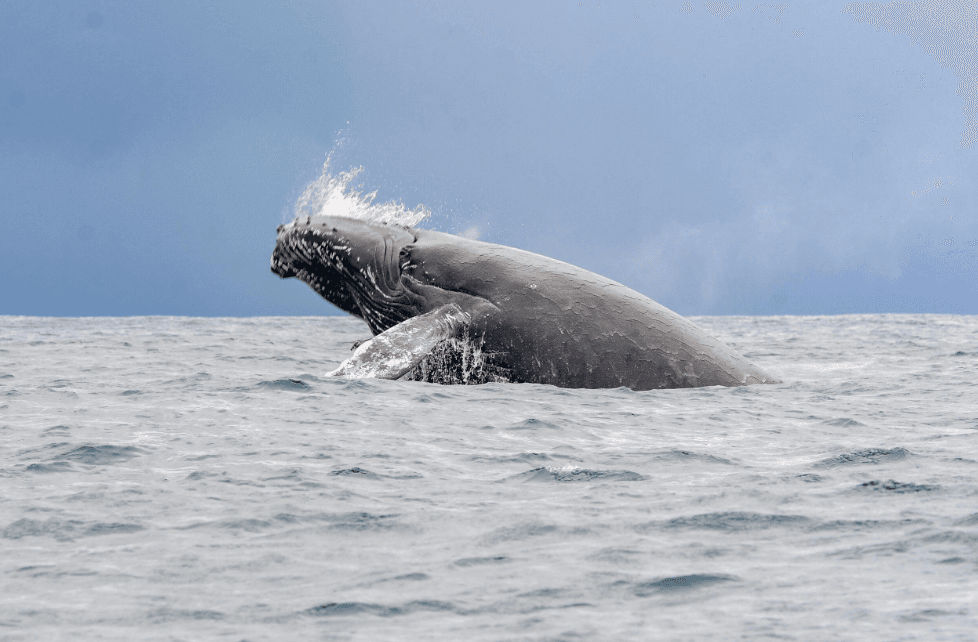
A breach occurs when a whale propels much of its body out of the water before falling back to the surface.
It is one of the most sought-after subjects in whale photography, but it is also impossible to schedule.
Rather than keeping your camera pointed at one part of the water indefinitely, scan the surrounding area and listen to the guide's instructions.
If a breach occurs, use a fast shutter speed and continuous shooting if you can react in time.
Try to include enough space around the animal to account for its movement. A very tight crop may cut off part of the whale if it jumps higher or farther than expected.
If you miss the moment, do not worry. A sharp photograph of a whale surfacing or displaying its tail can still be an excellent wildlife image.
9. Protect Your Equipment From Water and Salt
A boat trip exposes photography equipment to conditions that differ from ordinary sightseeing.
Sea spray, humid air, and accidental splashes can damage equipment that is not adequately protected.
Before departure, consider the following precautions:
- Use a suitable protective cover for your camera when conditions warrant it.
- Keep microfiber cloths available for cleaning the lens.
- Store spare batteries and memory cards in a dry pouch.
- Use a secure strap to reduce the risk of dropping your camera.
- Keep bags closed when you are not using your equipment.
- Follow the camera manufacturer's advice about water resistance.
Do not assume that a weather-sealed camera is waterproof. Protection levels vary, and salt water can be particularly damaging.
Avoid changing lenses in exposed or wet areas if you can. If your equipment gets wet, follow the manufacturer's cleaning and drying instructions.
10. Can You Take Good Whale Photographs With a Smartphone?
Yes, a smartphone can document the experience, especially when you focus on realistic opportunities.
Use the main camera or an optical zoom option where available. Keep the phone steady with both hands and take several photographs when the whale is visible.
If your phone offers a burst or action mode, practice using it beforehand.
Avoid relying on extreme digital zoom. It can make distant subjects appear larger on the screen without preserving enough detail for a clear image.
Smartphones can also be effective for wider photographs of the boat, the surrounding water, and the overall excursion.
Keep your device attached to a secure strap or stored safely when it is not in use.
11. Respect Wildlife While Taking Photographs
Good wildlife photography begins with respect for the animal.
Follow the captain's and guide's instructions, and make sure the operator follows applicable whale-watching regulations.
Do not ask the captain to chase a whale, block its path, or approach closer than permitted. Never attempt to touch, feed, or attract a whale for a photograph.
Use your camera's zoom rather than trying to get physically closer.
Avoid standing in restricted areas or moving around the boat when it is unsafe. Getting the perfect shot is never worth compromising passenger safety or disturbing wildlife.
A responsible photograph documents a natural encounter without requiring the animal to change its behavior for the camera.
12. Organize Your Photos After the Excursion
After returning to shore, review your photographs and select images that tell a clear story.
You might organize them into groups such as whale sightings, tail displays, environmental scenes, and behind-the-scenes travel moments.
Delete obvious duplicates and technically unsuccessful frames, but consider keeping images that show interesting behavior even if they are not perfectly composed.
When editing, aim for natural colors and believable details. Excessive sharpening, oversaturation, or artificial alterations can make wildlife photographs less authentic.
If you publish your images online, use accurate captions and avoid claiming that a particular behavior has a confirmed scientific meaning unless you have reliable evidence.
13. Prepare a Photography Checklist Before You Go
A short checklist can help you avoid common equipment problems.
Before leaving your accommodation, check that:
- Your batteries are fully charged.
- Your memory card has enough free space.
- Your lens is clean.
- Your camera is set to a useful autofocus mode.
- Your exposure settings suit the expected conditions.
- Your camera strap or phone attachment is secure.
- Protective equipment is packed.
- You understand the operator's safety instructions.
It is also worth checking the tour's departure arrangements and any rules about photography equipment.
Avoid bringing more gear than you can manage safely on a moving boat. A simple, familiar setup is often more useful than a large collection of accessories you have little time to operate.
Frequently Asked Questions
What camera settings are best for whale photography?
A fast shutter speed, continuous autofocus, and burst mode are useful starting points. Adjust ISO and exposure to suit the light and movement, and test your settings before the trip.
What lens is suitable for photographing humpback whales?
A telephoto zoom can be versatile when whales are at a distance. A lens around 100–400 mm on a full-frame camera is one possible option, but the right choice depends on your camera, composition, and budget.
Can I photograph whales with my phone?
Yes. A smartphone can capture useful images, especially when the whale is relatively close. Keep the phone secure, avoid extreme digital zoom, and prioritize safety over getting a closer angle.
Is January a good month for whale photography in Samaná?
January falls within the commonly recognized whale-watching season, which generally runs from January through March. Actual sightings and photographic opportunities vary, so check current local information before traveling.
Are whale breaches guaranteed during a photography tour?
No. Breaching is a natural behavior that cannot be scheduled or guaranteed. Prepare to photograph other moments, including surfacing, breathing, tail displays, and the surrounding environment.
How can I protect my camera from seawater?
Use suitable protective covers, keep equipment secured, minimize exposure to spray, and follow the manufacturer's care instructions. Weather sealing does not necessarily make a camera waterproof.
Final Thoughts
Whale-watching photography in Samaná combines wildlife observation with the challenge of working quickly in a changing marine environment.
Prepare your camera before departure, choose settings that suit moving subjects, protect your equipment, and practice tracking wildlife. Most importantly, remain patient and respect the whales' space.
You may capture a dramatic breach, a raised tail, or a simple moment at the surface. Each photograph can become a meaningful record of your encounter with humpback whales in the Dominican Republic.
The best result is not simply the most spectacular image. It is a photograph that captures the experience honestly while respecting the animals and the environment.
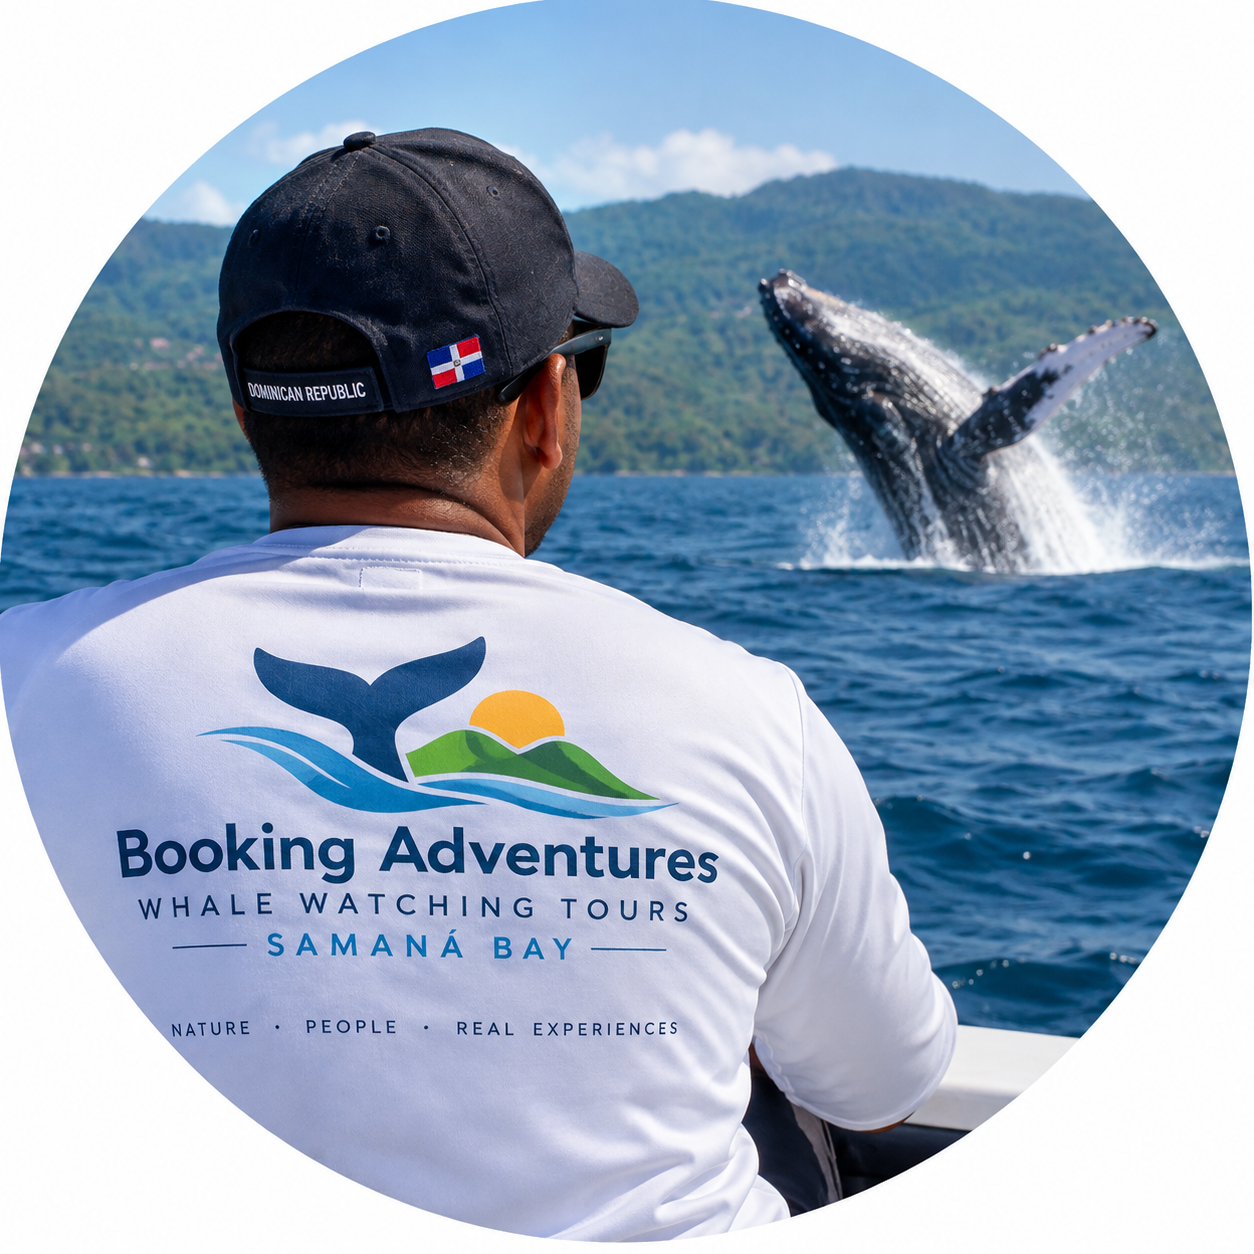
Local explorer & expert guide in Whales of Samaná.